Initial implementation
I deally these are installed as near to your kitchen as possible, as a receptacle for your kitche waste.
The space required needs to be at least 1.5 m wide and 1.5 m long.
Then you need a border for your round growing area. Stones are good. I ended up using logs as they became freely available at the allotment.
Measure two concentric circles of 0.5 m diameter and 1.5 m diameter with string and bamboo stick.
The smallest circle will be your compost bin and should be marked and supported by 1m long sticks tied with string to form a loose, holey mesh to stop the compost falling out. You can line the compost area with cardboard to start with.
Fill the central ring with some topsoil then add your kitchen waste as you go.
The outer circle is the growing area which needs good soil to start it off. I didn’t have any so I used the what was already there on the plot. (This was a mistake and 2 years later have to carry out the repair work!) The idea is that as the kitchen waste breaks down the nutrients and moisture leach into the surround soil. It is used in Africa to cope with drought.
Once installed, you can use the South-facing part for sun-loving crops and other side for shade-tolerant crops. Plants that need more moisture can be planted closer to the centre where compost is. Keep the fallow parts covered when not in use to prevent weeds and moisture evaporation.
Positive results: for the first time in ages, I had a crop in 2010 (Runner beans and parsnips!) Very exciting!
When crop has finished, chop up the remaining leaves with scissors and use as mulch to cover bare soil.
Acknowledgments to Send a Cow
http://www.sendacow.org.uk/keyhole-gardens
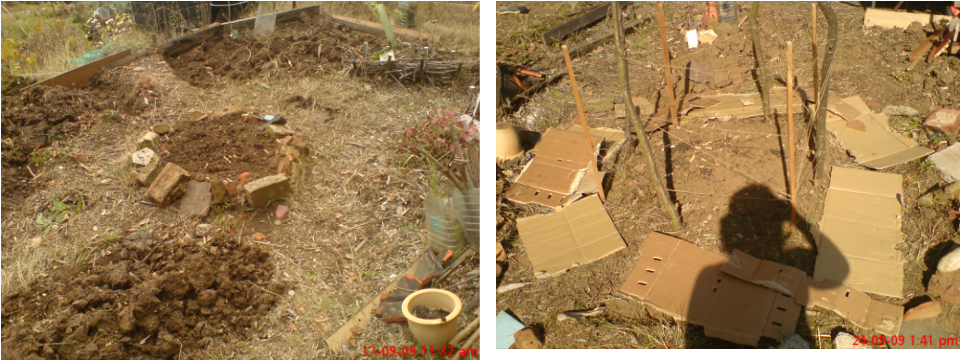
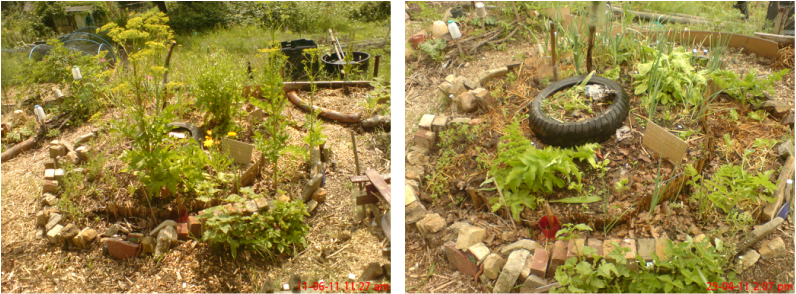
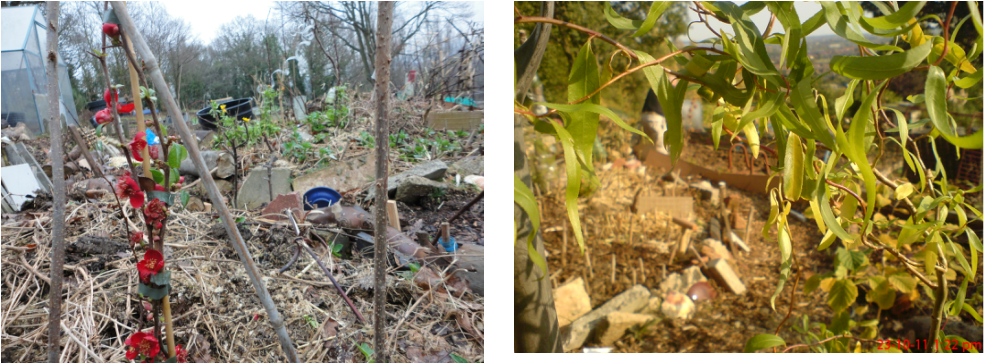
First pic of lower plot with original beds and second pic installing a central compost bin using sticks, string and cardboard base.
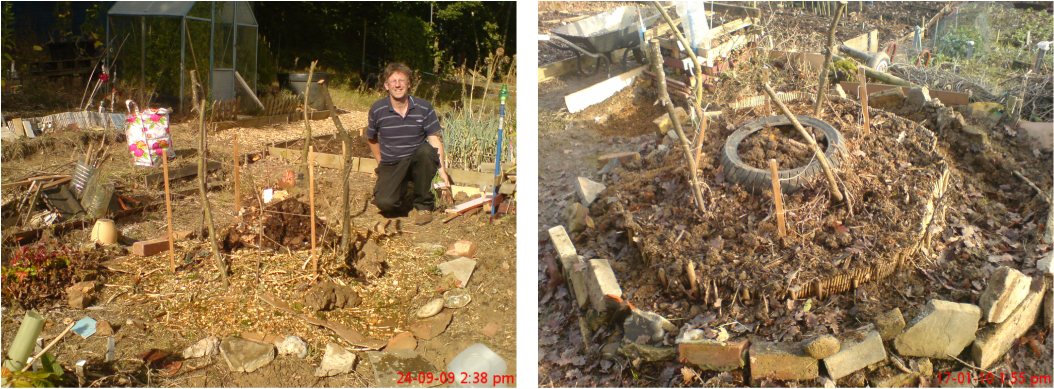
pic 1 defining the outer edge with whatever we could find, stones and bricks, then building up structure with woodchip and existing rocky soil. Tyre helping to hold compost area in centre in place.
Initial outcome
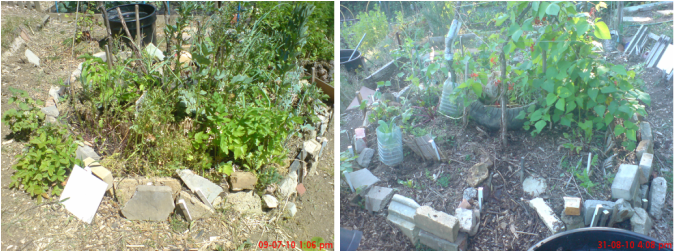
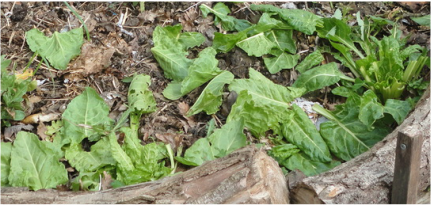
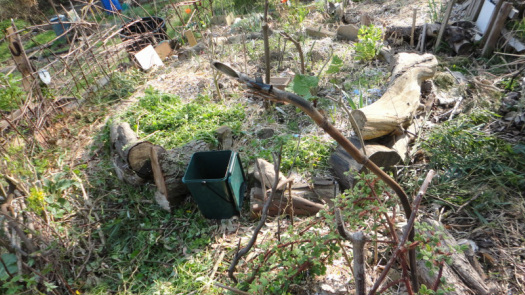
July 2010, the following year, stuff grew (parsnips, strawberries, a brassica, broad beans, garlic). In August 2010 a good crop of runner beans, although as you can see, in pics below soil drying out.
Evaluation 1 year later
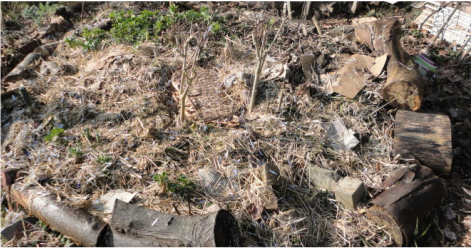
Dry weather in 2011 meant that stuff bolted and that yield was small. This is possibly because soil still drying out as nutrients from the centre not leaching outwards as they were designed to do.
Implementation next steps 2011/2012
I will continue to mulch a la Ruth Stout, surely eventually the soil would soften up and the worms would restructure it?
Types of mulch applied

Woodchip, leaf fall, juiced apples from Apple day October 2011, garden clients' clippings and waste, pet bunny mulch (straw, sawdust, poo, grass), green manure chop, even cardboard.
|
|
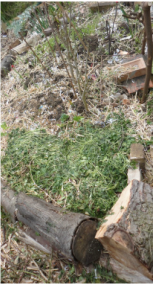
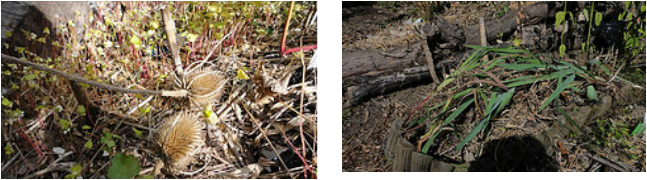
Buckwheat ground cover with fallen teasels and bamboo leave ground cover on the right.
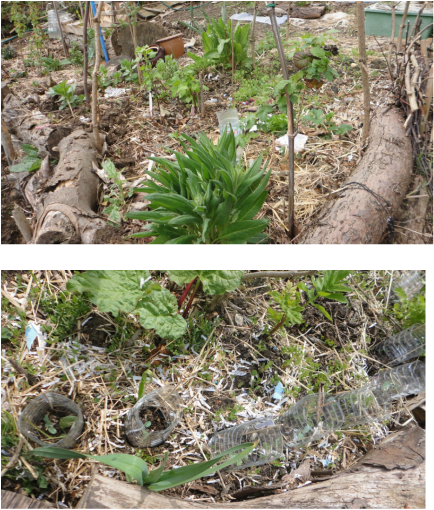
How it developed in 2012
log borders added, green manure planted, rhubarb and some onions
Late spring 2012
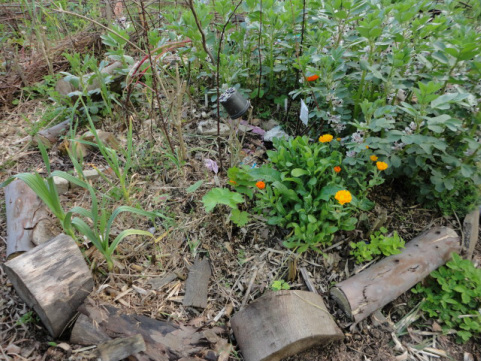
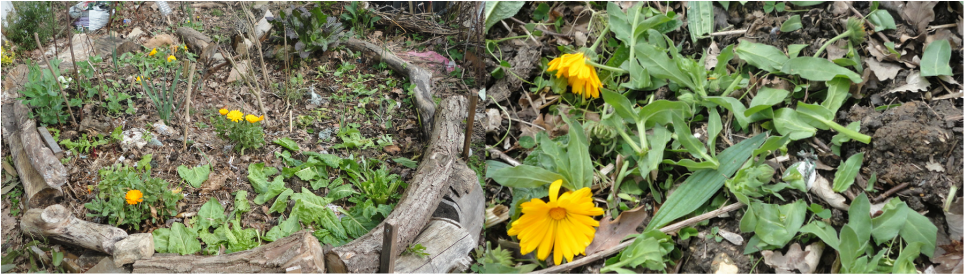
Green manure and calendula summer 2012
August heat 2012
Implementation continued
to create a bit of shade decided to plant a hedge allow the south side of plot, so far, quince, hazel , willow, winter sweet and box have been planted. there is a globe artichoke in the South West corner that could be divided and replanted too.
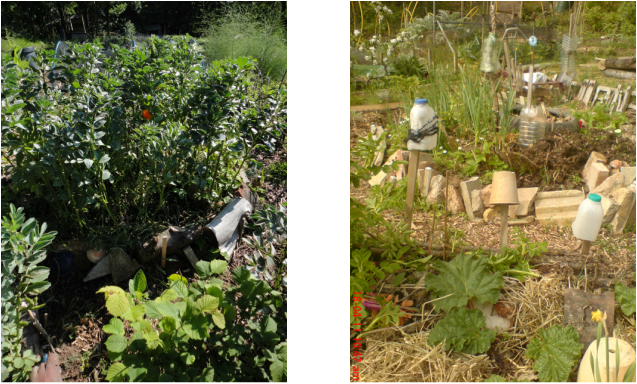
How it looks in April 2013
Plenty of sticks, mulch and woochip from various sources.
May 2013.... flower and fruit bed, slug guards and wise watering , regrowth of hops, sage transplant and hairy bittercress
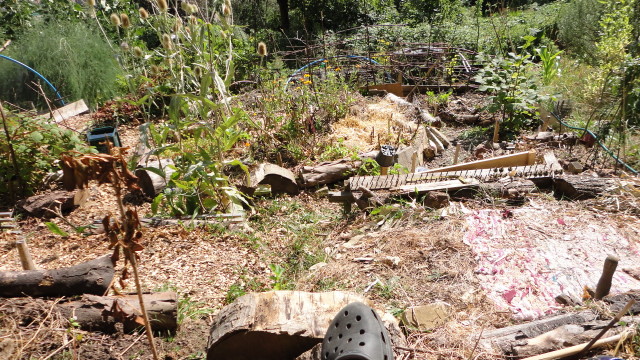
Spring 2014
Soil still cracking and dry in most areas. First proper watering of the year. Decided I would keep throwing seeds in and see what comes up. Today I sowed Leek and Kale seeds and did some mulching with excess Calendula and New Zealand spinach.
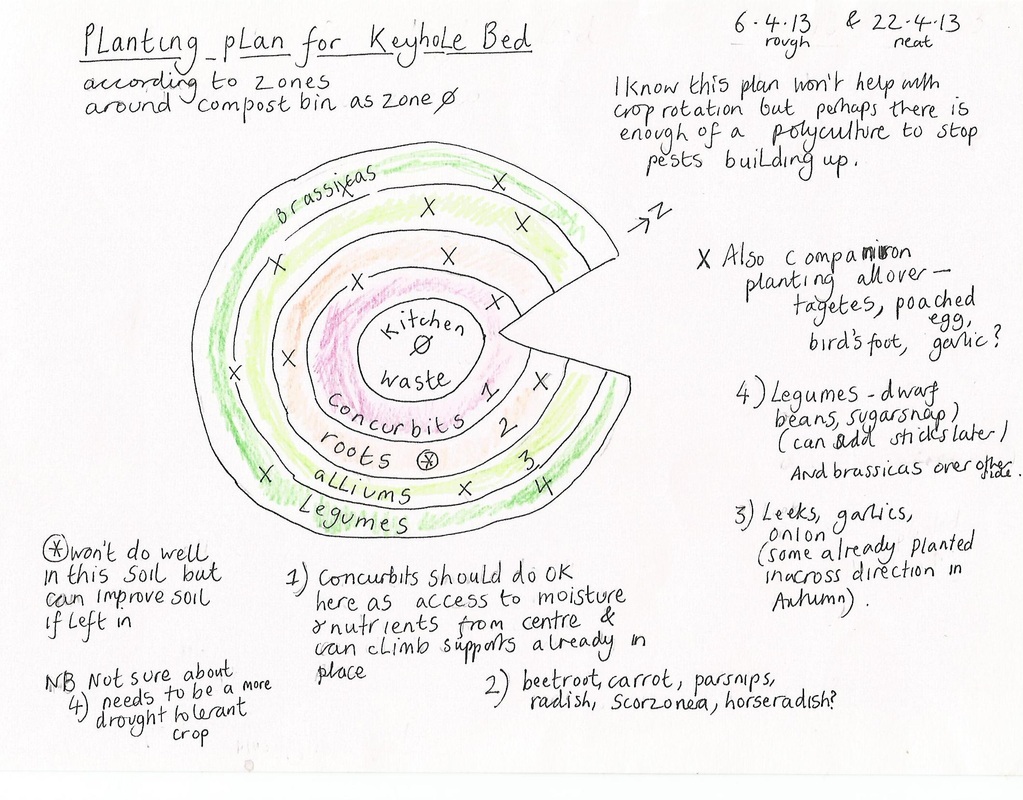
Possible Planting plan for AKB
Evaluation using SW (no OC)
Strengths
The African Keyhole bed addresses the problem of drought using kitchen waste to add moisture where it is needed.
You can grow at waist height which is great for people with bad backs.
Lets nature do the work of feeding the soil.
Good for easy crop rotation.
Takes advantage of morning and evening sun.
Weaknesses
To build an effective keyhole bed you need a lot of good soil to start with to create a high bed that it easy to tend.
You need materials for the edge - quite a lot of stones or logs or bricks.
Slugs like to hide under logs and stones and eat the produce.
